SOP 23 · Property setup · 2026-10-12
Mark units and add optional setup photos
Record explicit unit labels and supporting observations during the setup walk.
Before you start
An authorized setup recording must be active on this device.
Open Active setup > Walk to the next unit
Step 1 Walk to the actual unit
Follow the property safely and stop at the physical door or checkpoint you intend to record.
Step 2 Open the unit marking task
Use the mark-unit action. Copy the posted Unit number exactly; this field is required. A configured numbering rule can decode the posted label into building and floor for future marks. Explicit entries take precedence; an unmatched label stays unknown.
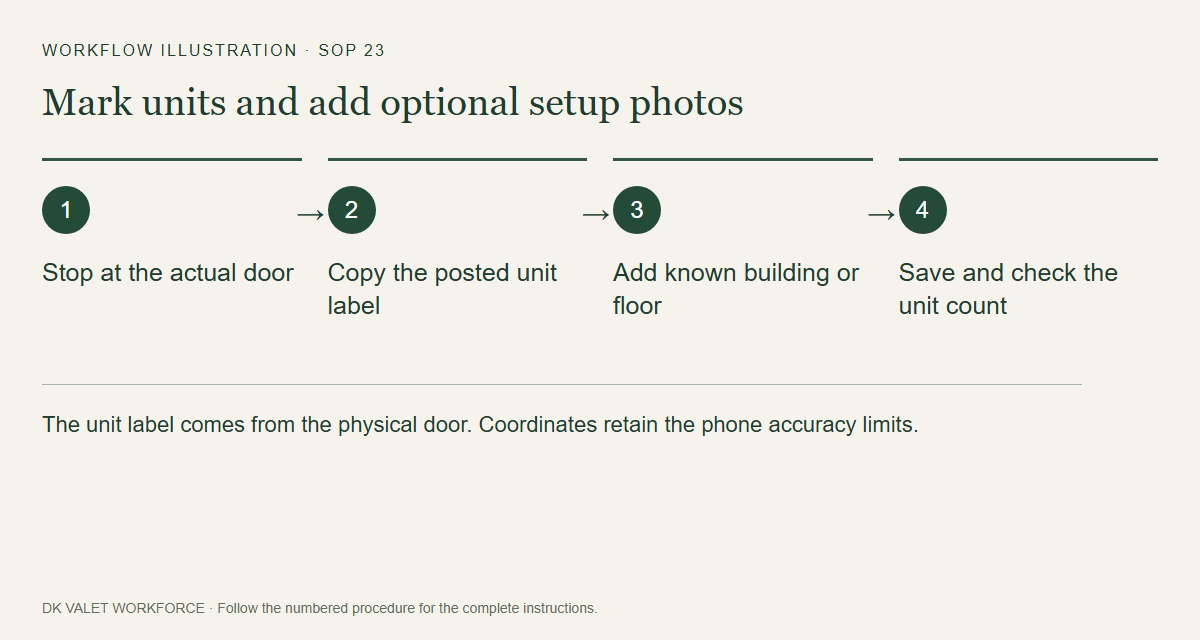
The unit label comes from the physical door. Coordinates retain the phone accuracy limits. Workflow illustration. Select the picture to enlarge. Step 3 Add identification details
Add the Building and Floor labels when known. Optional notes should help identify the door. Add a photo only when useful and appropriate.
Step 4 Save the unit
Review the label, optional details and measured position, then save using the displayed unit-save action. Verify the units-saved count.
Step 5 Continue the walk
Return to the map and proceed to the next unit. Use Status to inspect capture and upload health during a long walk.
Check your result
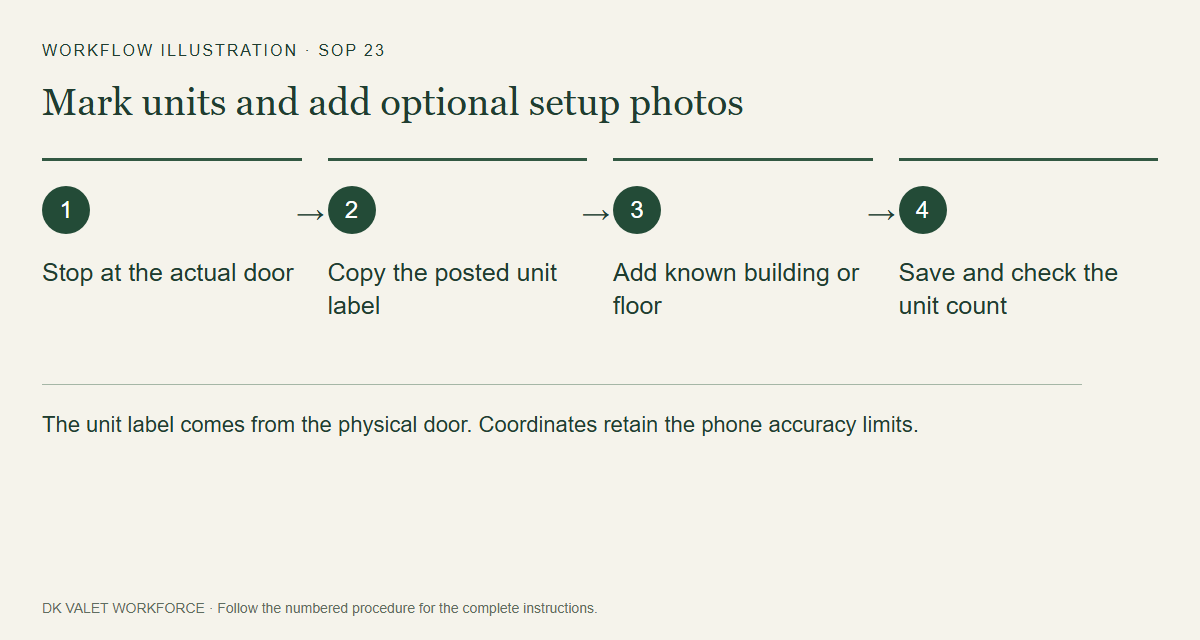
The new mark appears in the saved unit count and later in the setup review.
If something goes wrong
A saved mark records your explicit observation. Its phone coordinates retain their accuracy limits and are not exact indoor positioning.